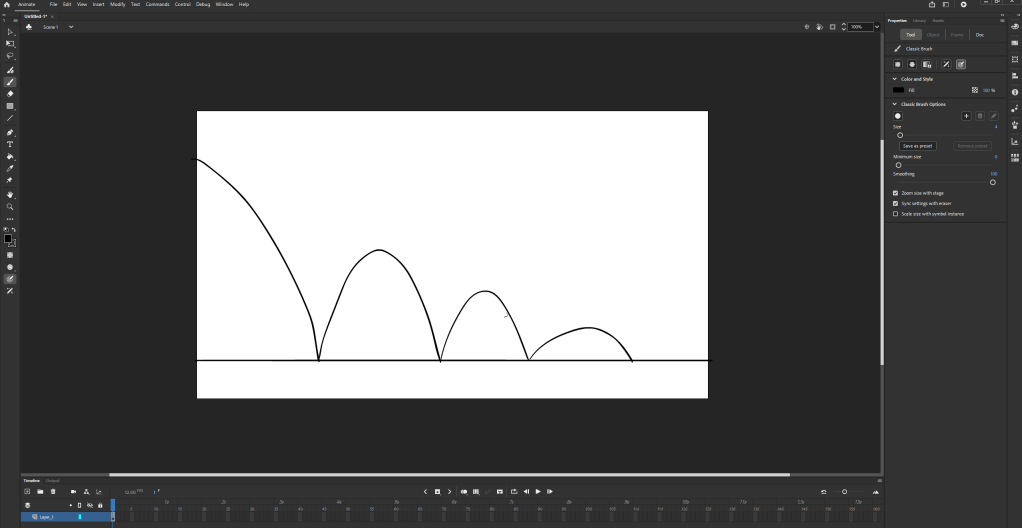
Starting with drawing out the arc of the movement helps plan where the object is going to go and how it moves in relation to the surroundings and what its made of.
This shows all the frames of the animation by turning on onion skin and selecting all the frames. This clearly shows the direction of the animation following the sketch behind. Also its important that the ball changes shape throughout, it needs to stretch in the middle of the movement when it is moving the fastest, and squash downwards when it hits the ground. With an animation that connects with the environment I needed to remember that some elements would absorb the energy and slow down the object(eg, the ball hitting the floor) The amount of frames where also very important since it needed less when the ball was moving the fastest and more when it slowed down, like at the top of the movement or when it hit the floor.
For the second animation I didn’t draw a line that the movement would follow so it doesn’t stay in the correct position, if I where to animate this again I would plan it better. This one was also different since the ball was losing energy in the same place so it made it more difficult to look realistic compared to the first one.
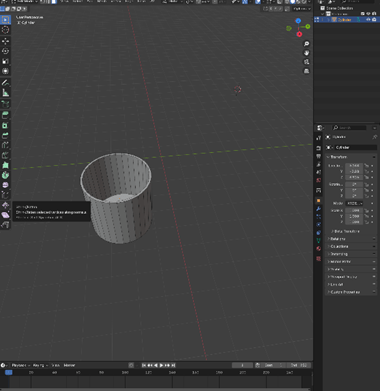
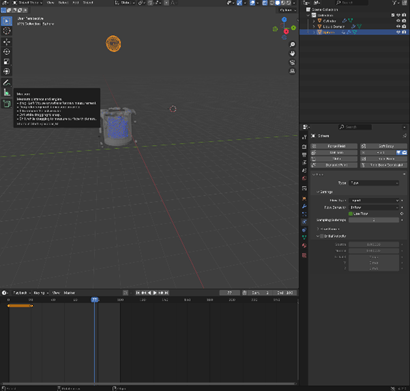
I added a cylinder to be the container and extruded the face on top downwards to make the shape.
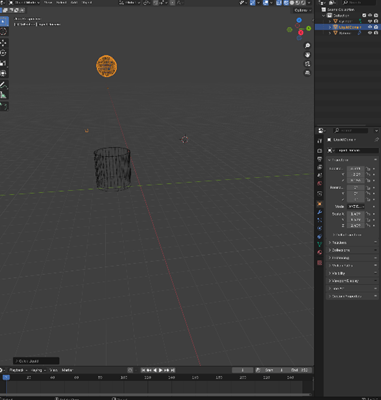
I then clicked shift A and added a sphere above and lined it up with the container. Then changed the sphere to liquid with the add tab in the top left
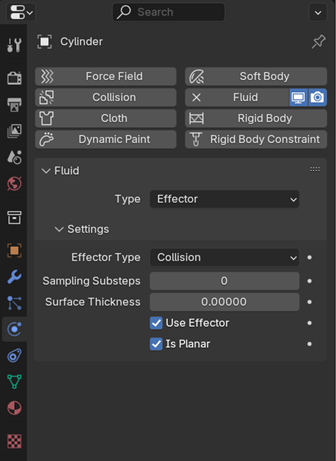
Then selected the glass and went to the physics tap, selected fluid then effector and ticked the box that said is planar so the object (the cylinder) will be an unclosed mesh.
I then switched to edit mode and adjusted the scale and area of the liquid domain so all the objects in the scene fit inside.
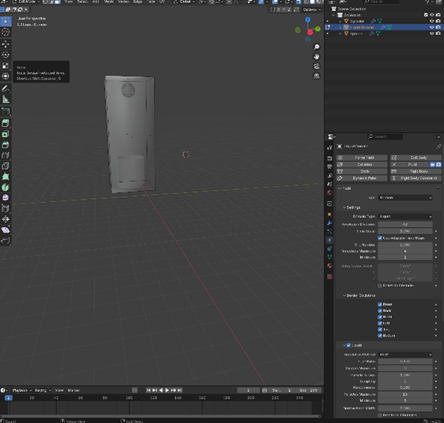
I selected the sphere, then changed the resolution division to 50 instead of 32, any higher may crash the pc. Then changed the frame to end at 100 instead of 250.then changed the flow behaviour from geometry to inflow and made sure the flow type was liquid since that is what I am trying to animate.
To change the flow from continuing for 100 frames I added a keyframe at the beginning and at frame 20 with use flow selected then on the frame straight after I enabled it so the flow would stop
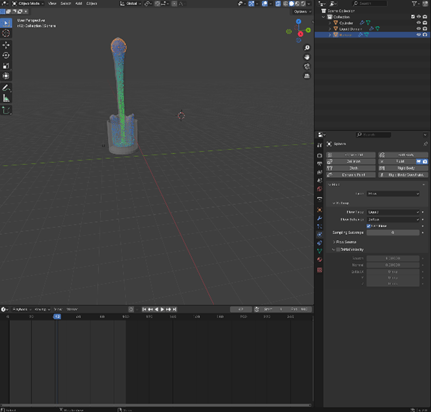
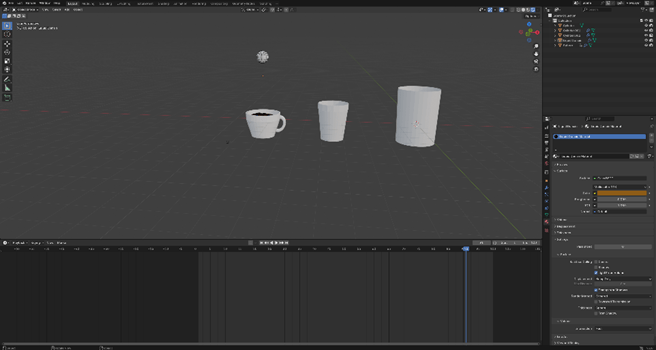
I used my noted to add liquid to the mug I made earlier, this one was a little bit more difficult to do because of the shape but I managed to make the flow of the liquid fill up the container anyway.
I think the 3D animation in finding nemo is very impressive since the whole movie is underwater and animators had to try and navigate the physics of the environment they where creating. This was something new to Pixar and was very admirable since it was an earlier film.
3D animation is a model or drawing that exists in a 3 dimensional space that moves
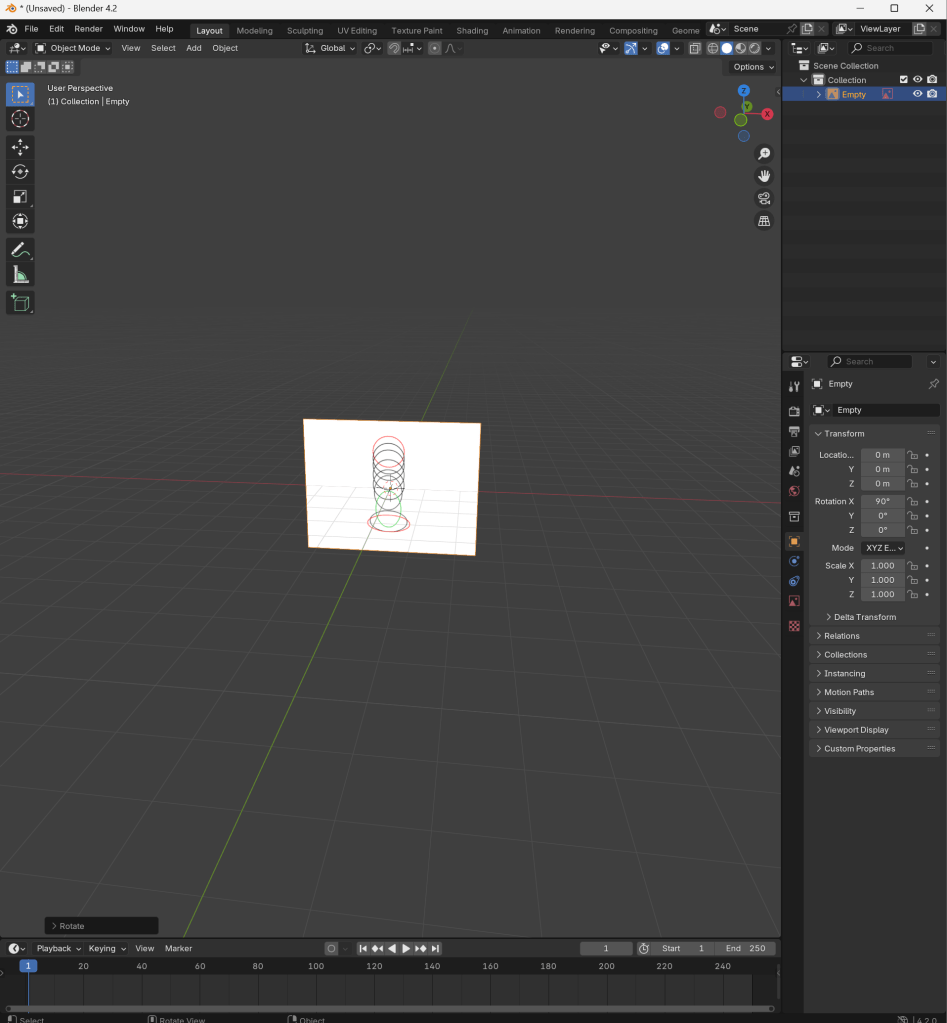
i downloaded this reference image then rotated it to be able to model on top
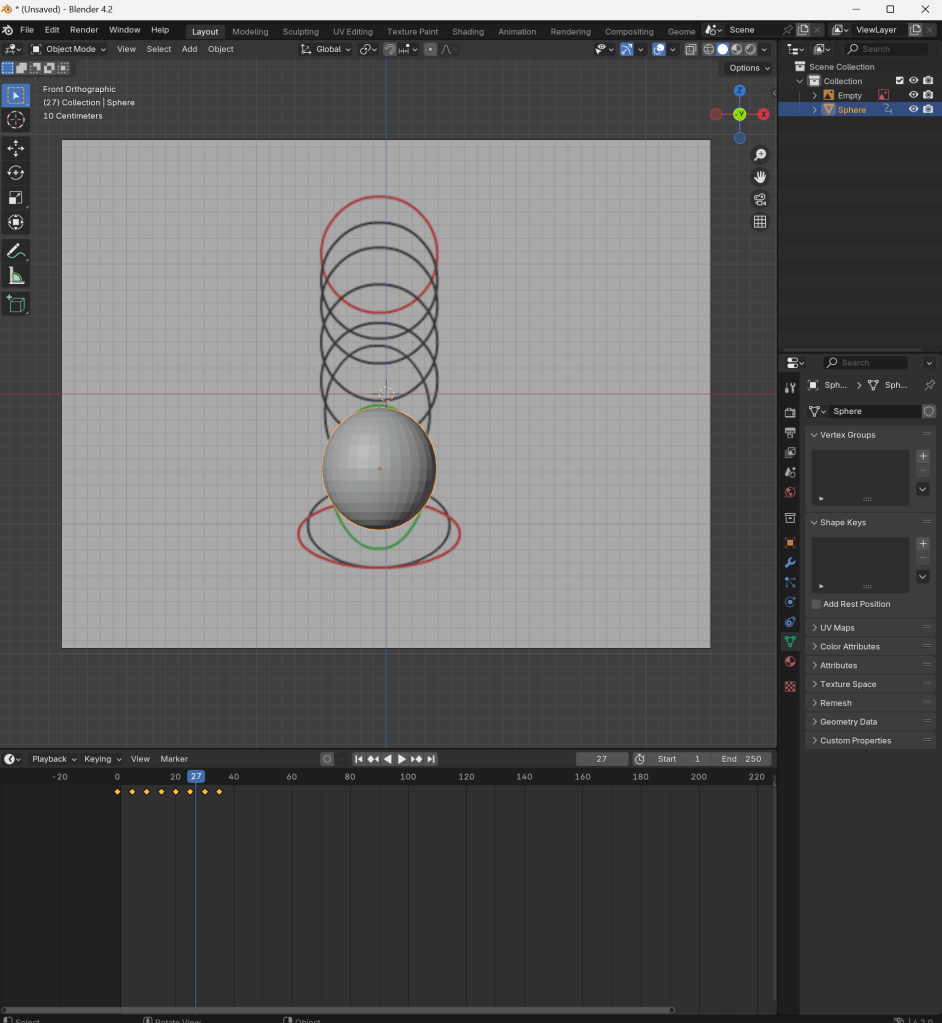
I used my reference as a guide to where I placed the spheres, once I was happy with where they were, I added a new key frame in the timeline below. I then saved the location by pressing k and started modelling the next key frame, once I did 4 I started altering the scale and rotation of the object so I had to start saving that to.
spider-man into the spider verse vs across the spider verse:
production company–
Even though both movies where made by Columbia pictures and Sony pictures animation there where completely different artists bringing different art styles and ideas to the production process. To make into the spider verse it took 177 animators, this was the most animators working on the project at once. However the production team only grew for the second film with over 1000 animators and artists working on the project throughout.
difference in art style–
It is clear to see after watching both movies that across the spider-verse pushed the limits of 2D animation even further then the first film. Characters in across the spider verse where created with 6 different animation styles that are used to separate the film into different sections, such as the style for spider punk and being inspired by 70s comic books published in India for Spider-man India. Contrasting the interesting but individual style used in the first film.
Phil Lord and Christopher Miller, the creative producers on the first film embraced the fact into the spider verse was a spiderman remake and used this to differentiate the film from the others with the style instead of story. The artists working on these films used a combination of hand drawn and computer generated animation creating a hyper realistic however vivid and saturated art style that is specific and recognisable to these films. This is what i admire the most about the process of making these films, as the creative choices made for the animation where completely optional, and instead of making a basic animated movie they embraced the comic background of the media they where making a remake on and let the animation thrive with a range of styles.
frame rate in relation to the story–
Something different that the animators on into the spider verse did was experiment with frame rate, this was by not sticking to the usually 24 frames per second like other movies. They didn’t stick to one frame rate at all. Instead, the frames per second followed along with miles as he began to learn how to use his powers. For example, in the beginning of the movie miles is animated in 12 frames per second, while his peers are in 24 this highlights him not moving gracefully and smoothly and is especially obvious in comparison to other characters. However continuing in the movie ones he truly becomes spider man he is animated just like the others making the visuals more cohesive and satisfying to watch.
Animators embraced non-photorealistic rendering in these movies to have more control of the final graphics and preventing the movie from looking like all the other CGI movies made recently. This also allowed them to embed the different art styles for the different characters seamlessly and not sacrifice the detail of the frames.
vfx comparison
avatar, the way of water vs interstellar
In avatar the way of water where the visual effects stood out the most was with underwater motion capture technology, this was specifically developed for this production and completely changed how water is perceived in film. this technology required custom built rigs and tanks of water 120 feet long, 60 feet wide and 30 feet deep. this also required actors to move there expertise underwater and train to hold their breath for much longer.
Weta FX also utilised AI to enhance the water effect to look more realistic and behave how it does in real life, this movie did so much for the improvement of photorealistic rendering, in both environments and characters. the technology developed for this specific project alluding to water physics, skin texture and facial expressions will continue to improve and contribute to other projects in the industry.
Another technique used in the making of avatar was focusing on the muscles in the face to achieve the most accurate facial expressions. This contradicts the common use of blendshapes in animation to create a characters actions. This technique was actually used in the making of the first film however, the animators on the second found blendshapes can only animate on the surface level ,and only form an expression on the surface mesh of the character, an unnatural appearance compared to a human. In order to create more detailed expressions the needed to go deeper then that.
On the contrary, Interstellar merged practical effects with CGI to render some of the most visually accurate renderings of space seen to date. One of the biggest visual effects achievements was the depiction of the black hole itself, Gargantua. This was a big project within the film and was vital to get right.
interstellar also uses practical effects extensively to still maintain the realism in the film, for example the spacecraft. it was important for this to be practical effects instead of CGI since the surroundings where extremely surreal so a fully CGI image may be overwhelming for the audience.
Squash and stretch, to convey an objects weight ,material and flexibility
Anticipation, this prepares the audience for the action about to happen, so a small movement before
Staging, this is how characters props and the environment is arranged to present it to the audience in the least confusing way possible.
Straight ahead action, this is the process of animating an action frame by frame to create one fluid movement. this process can be quite time consuming and not as commonly used compared to pose to pose. this is when you draw the main actions the character is making and filling in the gaps between the frames to make them flow, this reduces the amount of frames needed .
Follow through and overlapping action, this is when certain parts of the animation continue with a movement to make it more realistic, such as a characters hair continuing to move even though the character has stopped.
Slow in and slow out, this is when the motion of a character start and end slow to make the action more realistic , this is done by drawing more frames at the start and end of a movement and fewer in-between to make the illusion of speed.
Arc, this the movement of characters in curves instead of straight lines, this makes them less robotic.
Secondary action, this can help personify a character, they are the small micro expressions before or after a big action which convey the emotion of the scene or their specific personality traits.
Timing. More frames in a scene will make it slower and less will make is faster. Each object requires specific timing which aligns with its properties, such as weight and size.
Exaggeration, this adds drama and enhances the storytelling, this can be used for expressions actions and sometimes poses.
Solid drawing, This involves drawing the character in a proper shape as they would exist in a 3 dimensional space. This means the character maintains the proper proportions and make any movements seem a lot more realistic
Appeal, adding appeal to characters is vital to the animation, since it can make the overall animation more exciting to watch. The physical attractiveness of characters is important but also having personal intrigue, specific defining features can make the animation more memorable.
To create these animations I used adobe animate, this is my first time using the soft wear so I started with a simple bouncing ball animation, I used layer 1 to draw the floor and extended it so it would stay throughout the movement. i then used the second to draw on with onion skin on so i could keep track of what i was doing . I used squash and stretch on the animation on the left and i can see a clear difference in the two, the left one looks a lot more realistic and it is made clear that its a softer more flexible material.
The spider was slightly more tricky to draw since it required more frames, However it was the same process
If I were to draw these again i would use f5 to extent the drawing over multiple frames since i don’t like how quickly they go. i would also use different colours and develop them more than a sketch.
www- I applied the 12 principles of animation to my drawings.
ebi- If I used 12 frames per second in my second animation instead of 32.
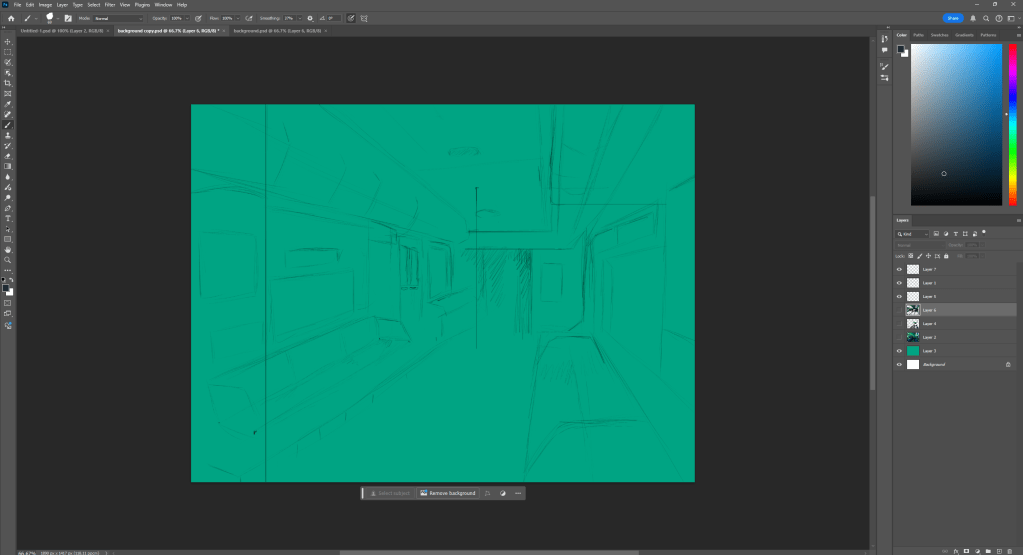
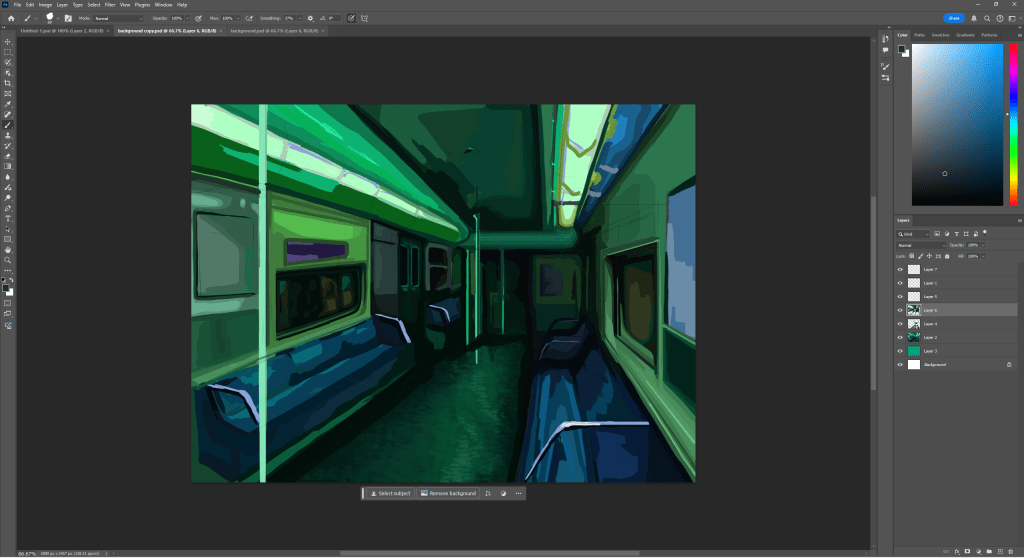
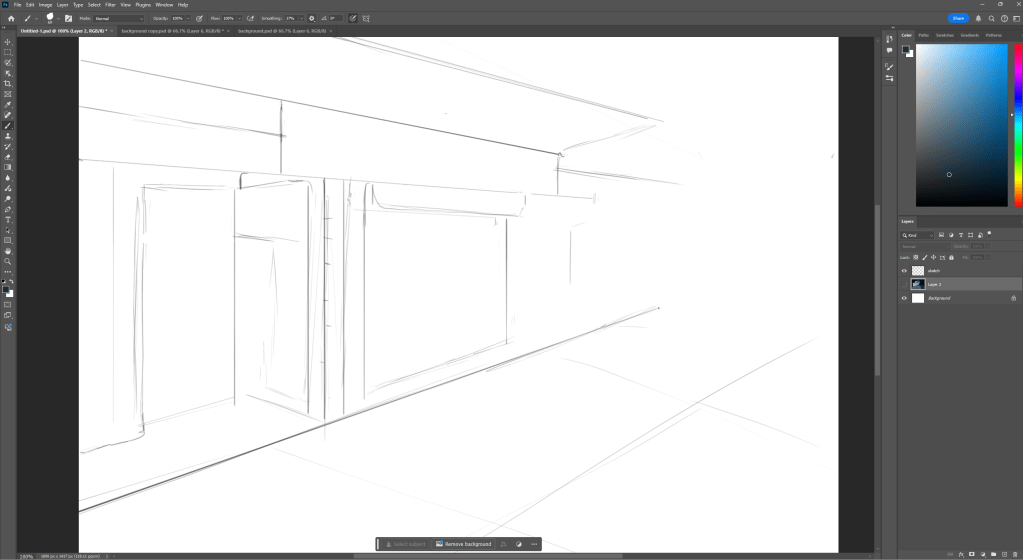
This was my first attempt at drawing a background in Photoshop, I first sketched it so I could understand the perspective. Since the reference I was using had an irregular angle that I had to change slightly.
Once I did that I used blocks of colour to carve out the values and see if the green hue would mess with the perception that its a train, since my reference was realistic colours . I tried to use the lasso tool but found it was easier to just paint it by hand, however this did take a lot longer. I think it would have been easier to draw this if I separated it with layers more so I could use bigger brushes on the bottom layers and add more detail over the top, since this is something I struggled with while drawing.
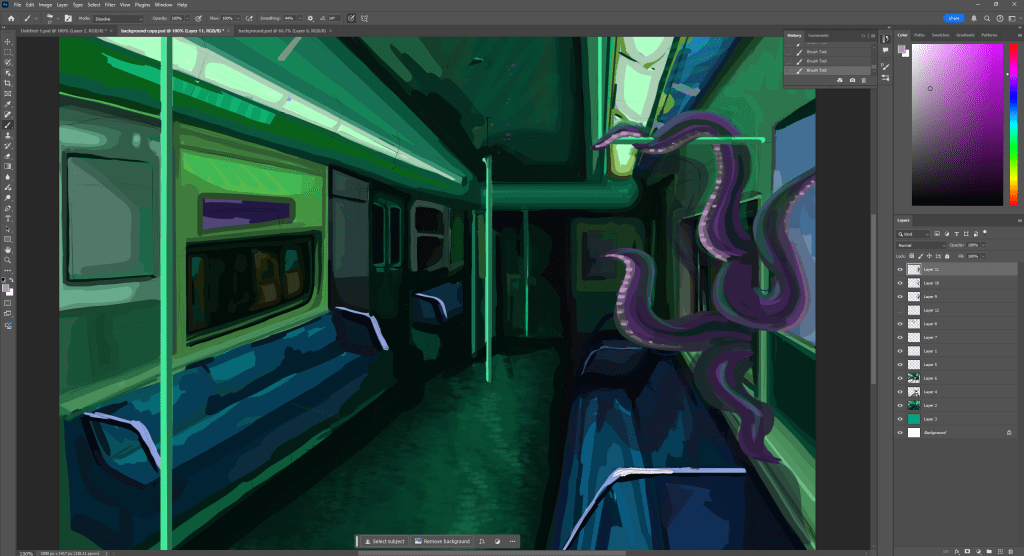
This is the drawing after more detail however its still not finished.
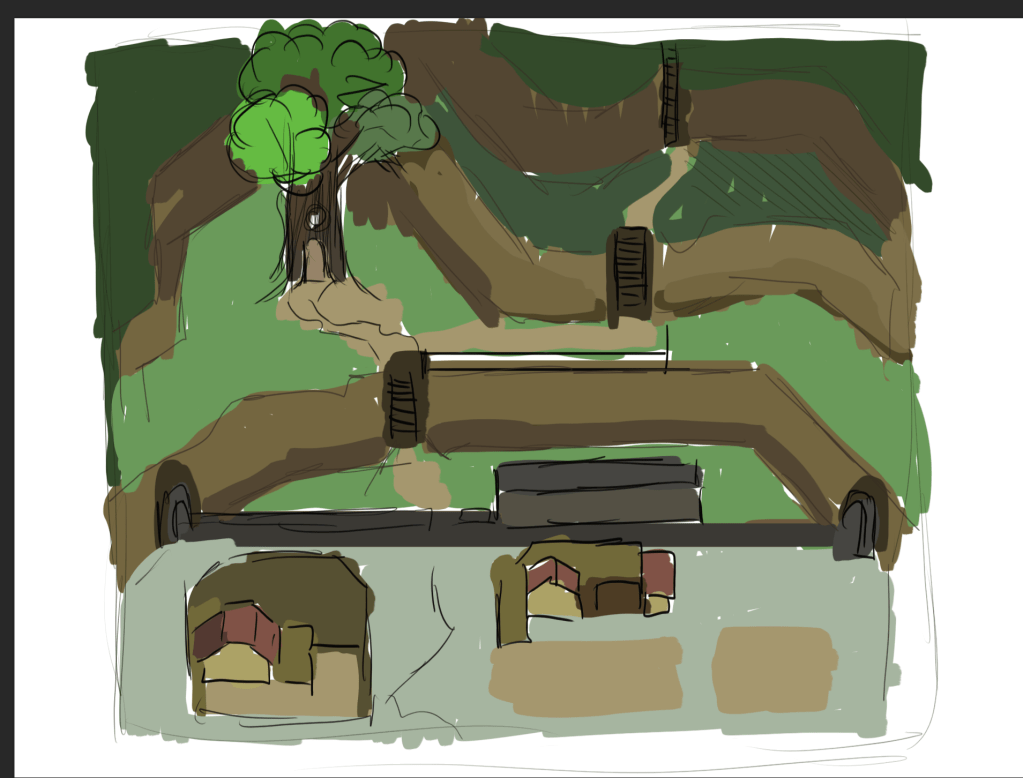
This drawing was much easier and quicker to do, it could be because the reference was simpler or because i’m more comfortable using the brushes on Photoshop, but i was also more organised throughout the drawing process so i wasn’t going back over details like I had to in the drawing before. However all the colouring is still one one layer and if i was going to add further textures and detail I would add more layers over top.
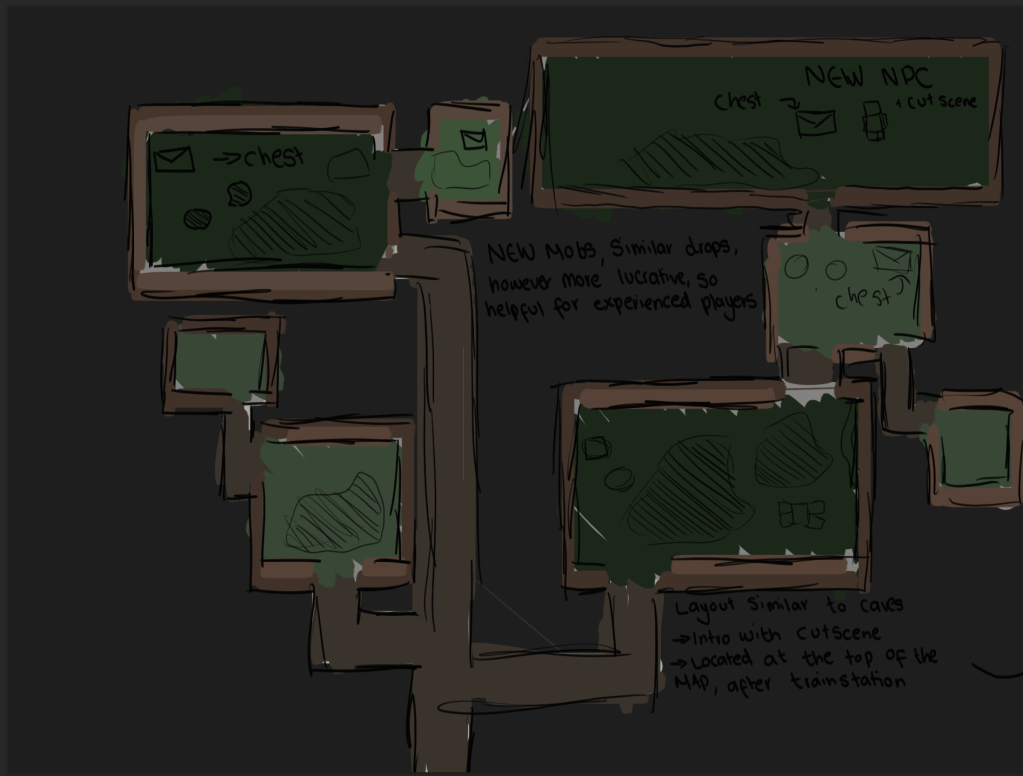
I am trying to gather peoples opinions on Stardew valley and more specifically if they are happy with the range of environments. This is because I noticed through my research and experience playing the game you are given the option of having a farm on a plan world, forest or river biome. I found this is quite limited especially if you plan on playing the game multiple times. This information would be important for an add on or a second game entirely. Including new environments, materials within that and possibly a new art style.
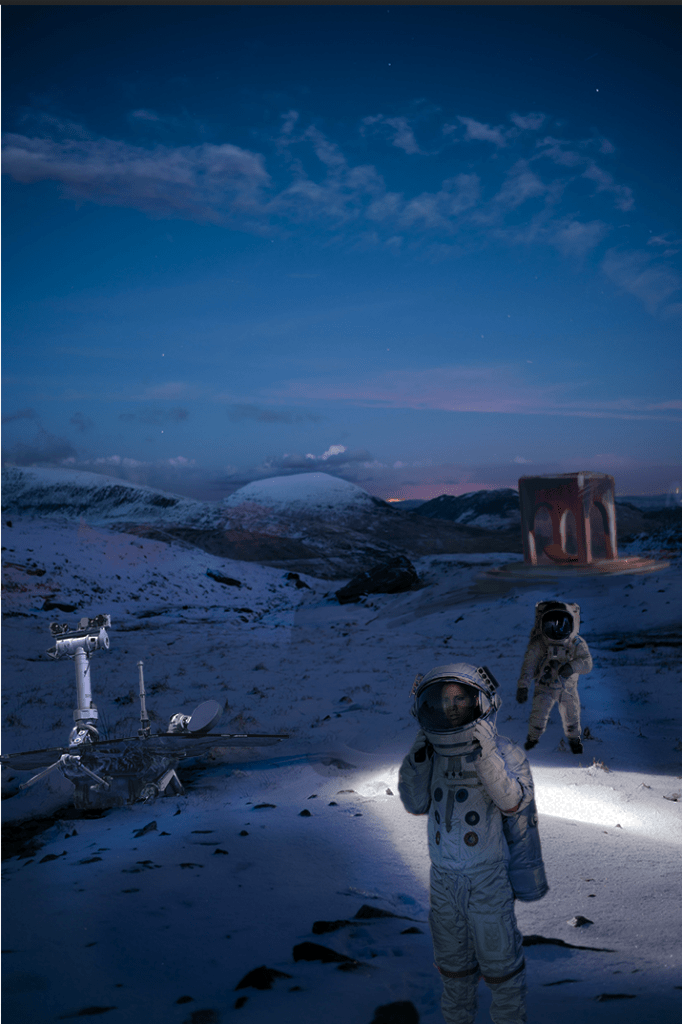
I used the original image on the right to create a scene by photobashing. I found all the images on pexels and cut them to match the background. At first i found the process quite confusing since I’ve only drawn on photoshop and all the tools for editing images are new to me, however it was easy to get a hang of- keeping in mind i only used basic tools, such as adjustments to the images individually, and then smoothing out any inconsistencies.
To blend the structure in the background I added a new layer and sketched on top of it with various opacities, I didn’t like this process as much as the other ones since it is quite obvious it isn’t part of the original picture, but it isn’t bad enough for me to change it- also it being in the back ground helps.
you can change the type of game your making from 2d to 3d to coding(script) at the top of the screen
To the left, This is where your nodes are, these are the building blocks of the game your making.
inspector tab, this is where you can change the properties of the nodes
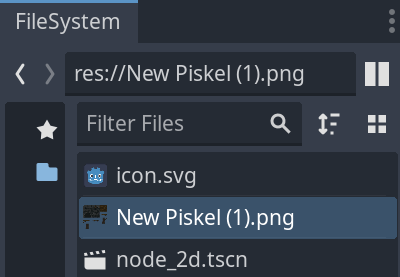
I dragged the piskel file in to Godot, in the file system, then Tileset to make collision layers on tiles that will be in the foreground and interacted with by the player. To separate the foreground and background I used layers, it is important that the background comes before the foreground, so you can see the tiles Infront.
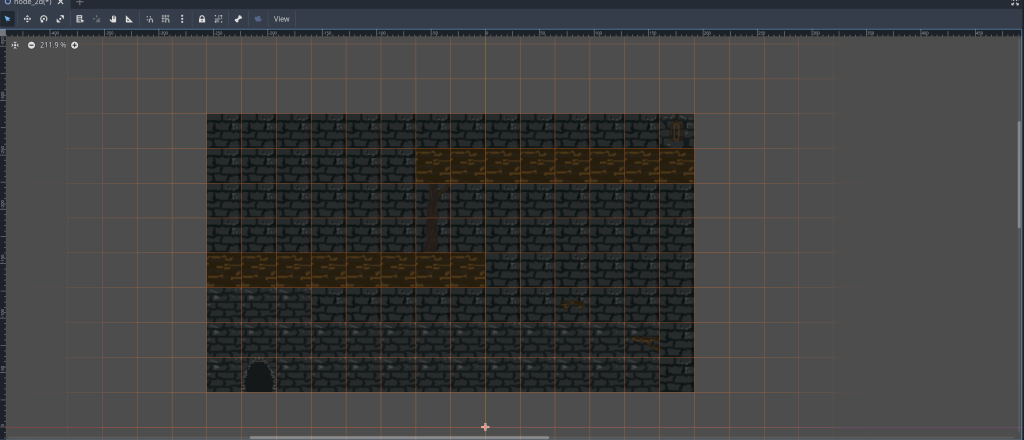
This is the foreground view of my game so far, I need to add more detail to the background because currently it is a mix of two tiles, and also spread the door out between a few tiles so it is the same scale as the rest of the scene.