

material preview– This allows you to see what you object looks like textured (far right icon).
solid mode – This is what you do the majority of your modelling on.(selected icon).
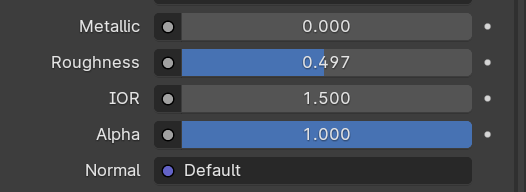
Increasing the metallic value makes the object appear as metal would, the roughness value is similar however it can make the object more glossy or just a flat colour. The alpha value determines how transparent the object is.

The add additional materials, click new and name you material then select the faces you would like to change then press assign.

Open the menu at the bottom of the screen and change to shader editor and click new. make sure you have a image downloaded ready. Click shift a to add and search image texture, connect the colour to the base colour. press u to unwrap.
WWW– I textured my sword from last lesson
EBI-I downloaded custom textures
normal map-images that store a direction, used to express an uneven appearance even if the mesh isn’t uneven.
UV unwrapping-‘unfolding a mesh’ necessary when you want to texture an object accurately and realistically.
procedural material-textures that are mathematically generated, instead of being biased on an image.
HDRI-high dynamic range image, they cover a 360 range, meaning you can light your scene effectively. used for 3D sceneries.
once i downloaded the image I dragged it into blender and presses alt g and r and x to rotate it along the x axis and typed 90 since that was the amount I was rotating it by.
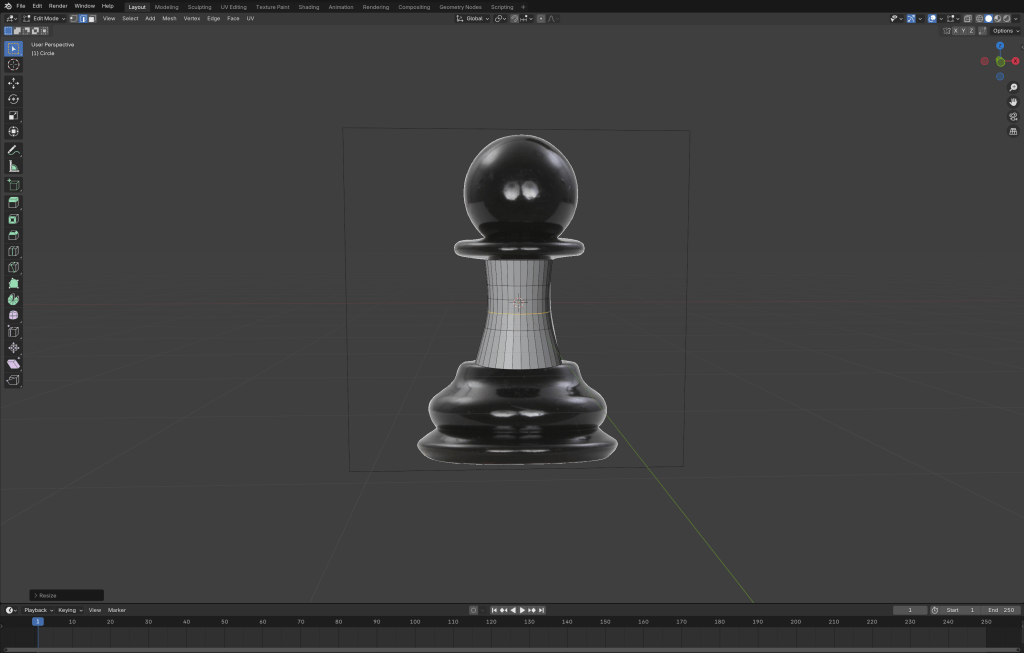
I extruded the face downwards and matched it with the reference image I used ctrl r to add loop cuts along the object and scaled them down to define the shape further.
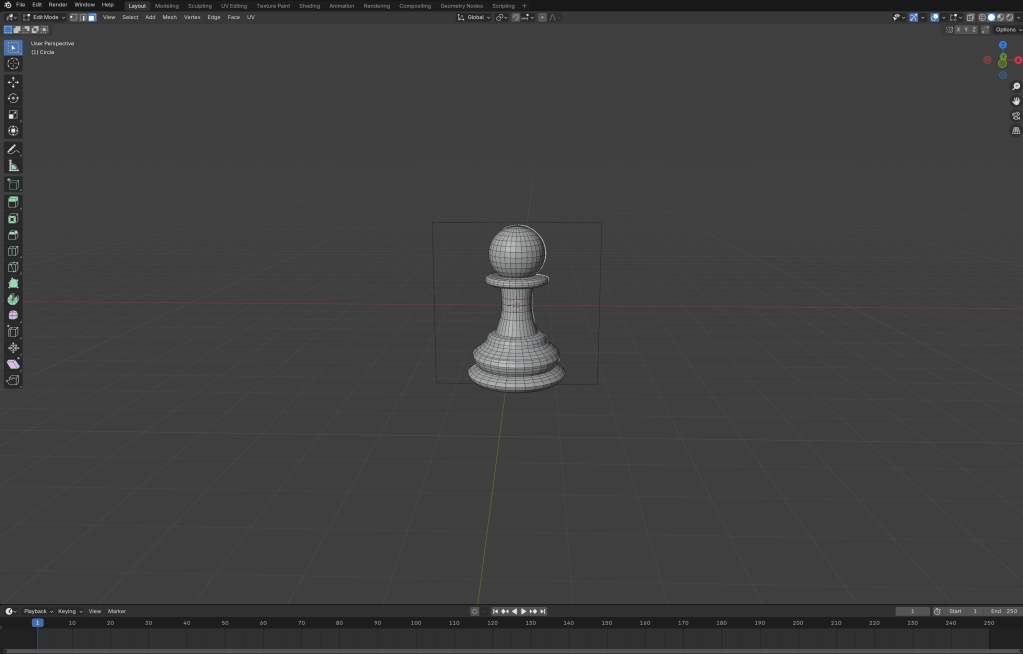
To make the rest of the object I extruded the face and clicked s to scale it up or down, matching it to the reference image. once I did that I added a UV sphere and scaled it down then clicked g and z to move it to the top.
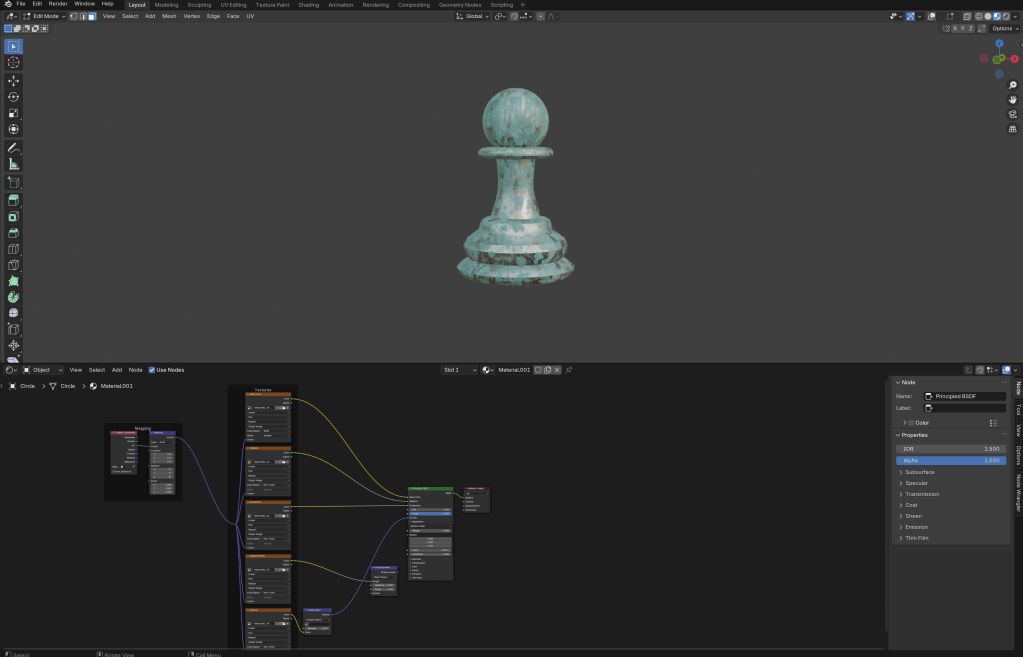
to add a custom texture I first downloaded the file as a 4k-PNJ and extracted the file, then pressed add in the shader editor, then I clicked shift alt and t then inserted the material files then disconnected the displacement then unwrapped the object.
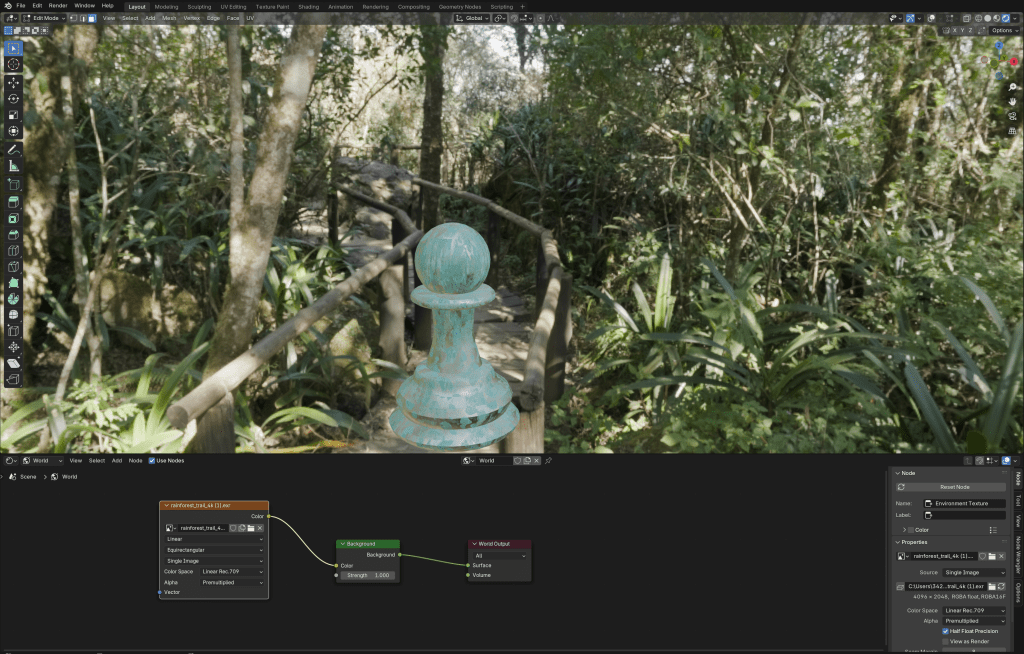
To add a background I first downloaded a HDRI from polyhaven, I downloaded the HDRI in 4K and changed from object to world in the shader editor and switched my view to viewport shading , so I could see the rendered background, I then attached the colour to the background colour.
WWW- I managed to download and use custom textures
EBI-if I finished the king I was modelling
